How to Choose the Right Stand Up Bags for Your Product?

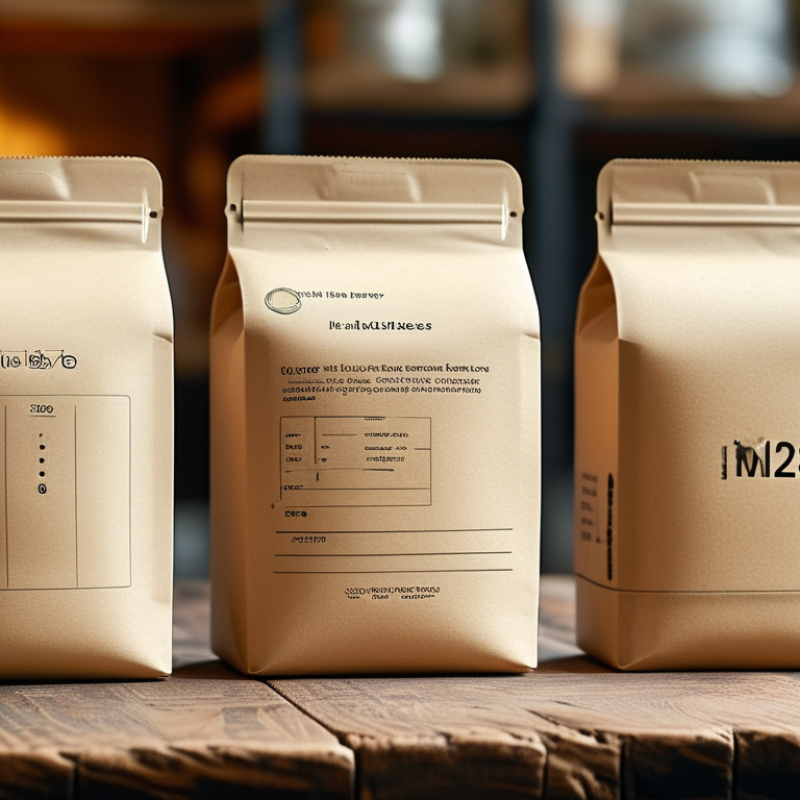
Choosing the right stand up bags is not simply a matter of selecting attractive packaging. The pouch must protect the product, support filling operations, and communicate value within seconds. A coffee pouch may need high oxygen and moisture barriers. A snack pouch may require puncture resistance and easy opening. A liquid product demands stronger seals and careful leak testing.

Industry data shows why this decision deserves attention. Smithers’ The Future of Global Flexible Packaging to 2028 identifies convenience, lightweight structures, and improved barrier performance as major market drivers. The Flexible Packaging Association also reports that flexible packaging remains a significant part of the U.S. packaging sector, supported by its efficient material use and transport advantages. PMMI’s Packaging Compass 2024 highlights consumer interest in convenience, recyclable designs, and packaging that fits changing shopping habits. These reports offer useful direction, but they do not replace product-specific testing.

Real experience matters here. A pouch that looks excellent on a display may wrinkle during filling or lose its seal after warehouse handling. A matte finish can improve shelf appeal, yet it may increase scuff visibility. Recyclable structures are promising, but their availability and barrier performance must be checked with qualified suppliers. The right choice depends on product sensitivity, filling speed, storage conditions, shelf life, and customer expectations.

There is no universal pouch.

This guide explains how to compare stand up bags by material, closure, size, barrier level, printing method, and total cost. It also questions common assumptions, because lower material use does not always mean better environmental performance. Reliable decisions require specifications, samples, seal tests, and verified supplier documentation.
How to Choose the Right Stand Up Bags for Your Product?

Define Your Product’s Packaging Requirements

Before choosing a stand-up bag, define what your product demands from its packaging. Start with the product, not the appearance.

Record its weight, volume, density, and flow behavior. A powder may settle during transport. A liquid may press against the seals. Oily contents can weaken unsuitable inner layers. I once focused on attractive printing and ignored filling temperature. The bag warped near the top seal. That mistake changed the specification.

Set clear protection targets for moisture, oxygen, light, aroma, and grease. Dry snacks may need strong moisture resistance. Sensitive products may require higher oxygen protection. Choose a closure based on usage frequency and customer handling. A wide opening helps scooping, while a narrow opening can reduce spills. Check whether the zipper remains clean after repeated use.

Measure the filling line before ordering samples. Confirm the bag’s dimensions, seal area, and filling tolerance. A bag that holds the right volume may still fail when filled quickly. Test it with the actual product. Inspect seal strength, leakage, standing stability, and drop performance. Keep samples in realistic storage conditions.

Transportation also matters. Record stacking pressure, temperature changes, and expected handling. Ask for material specifications and food-contact documentation when applicable. Verify that printed surfaces, inks, and layers suit the intended use. Recyclability claims need careful review because local collection systems differ. A package can look sustainable yet perform poorly in real disposal conditions. Recheck every assumption before approving production.

Choose the Right Stand Up Bag Material

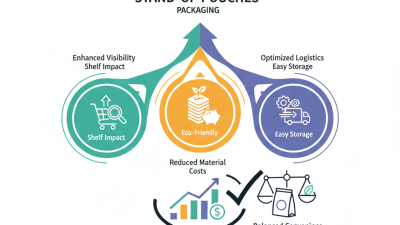
Choosing a stand up bag starts with the product, not the pouch shape. Material affects freshness, strength, shelf life, and customer handling. Dry snacks often suit multilayer plastic films with strong moisture barriers and secure seals. For oily foods, check grease resistance and possible flavor transfer. Powders need a reliable seal. Fine particles can enter tiny folds and cause leaks.

Products sensitive to oxygen may require a high-barrier structure, sometimes with a thin metalized layer. Light-sensitive contents also benefit from strong light protection. However, barrier performance should match the actual storage period. An overbuilt bag can increase cost and material use without improving the user experience. During production trials, fill the bag fully and test its seal after transport simulation. Do not inspect only empty samples.

Filled corners behave differently. A recyclable structure may be suitable, but it still needs verified barrier and sealing performance. Ask the converter for material specifications, seal ranges, and migration documentation for the intended food contact use. Samples should face heat, humidity, stacking, and repeated opening. I have seen an attractive bag fail because its zipper weakened under heavy filling. Appearance mattered less than that failure. Material selection is rarely perfect on the first attempt. A small pilot run can reveal problems before a large order.

Select the Ideal Bag Size and Shape

Choosing the right stand up bag begins with the product, not the shelf. Measure the filled volume, then allow room for sealing and comfortable handling. A dry snack may need a narrow base, while powder often needs extra headspace. For heavier contents, choose a wider bottom and stronger side seams. The bag should stand without leaning. It matters. In practical packing tests, fill sample bags to the intended level and check their balance. This simple step often reveals a size mistake before production.

Tips: Test at least three sizes before approving a final dimension. Compare fill weight, usable space, zipper reach, and shelf stability. Leave enough space above the product for a clean, reliable seal. Too much empty space can make the pouch collapse. Too little space may strain the closure.

Shape affects both function and visual presence. A rectangular pouch uses shelf space efficiently and offers a broad label area. A rounded profile feels softer, but it may reduce packing efficiency. A flat-bottom design provides strong stability for larger portions. However, it can use more material and increase shipping volume. Do not judge shape from a digital drawing alone. Hold filled samples, open the zipper repeatedly, and inspect the corners. I have seen attractive formats fail because the opening felt too tight. That was a useful reminder: appearance cannot replace handling tests.

How to Choose the Right Stand Up Bags for Your Product? - Select the Ideal Bag Size and Shape

Product Category Recommended Bag Shape Typical Bag Size
(W × H + Gusset)
Approximate Capacity Best Closure Important Selection Considerations
Spices and powdered seasonings Slim stand-up pouch 10 × 15 cm + 3 cm 30–80 g, depending on density Heat seal or zipper Choose a high-barrier structure when the product is sensitive to moisture, oxygen, or light.
Coffee and ground coffee Wide-bottom or block-bottom pouch 16 × 24 cm + 7 cm 250–500 g, depending on grind and density Zipper with heat-sealed top; valve may be required for freshly roasted coffee Allow headspace and confirm whether one-way degassing is needed before selecting the final size.
Dried fruit and nuts Standard stand-up pouch with rounded or square corners 14 × 21 cm + 5 cm 150–300 g, depending on product density Press-to-close zipper Use a stronger seal area and suitable puncture resistance for products with hard or sharp pieces.
Pet treats Wide stand-up pouch with a reinforced bottom 18 × 26 cm + 7 cm 300–700 g, depending on treat size Heavy-duty zipper Select a wider opening for large treats and test the bag against abrasion and repeated opening.
Protein powder and nutrition powder Large gusseted stand-up pouch 22 × 30 cm + 8 cm 500 g–1 kg, depending on powder density Wide zipper with heat seal A broad opening improves filling and scooping; barrier performance helps limit moisture pickup and caking.
Granola and cereal Wide-bottom stand-up pouch 18 × 27 cm + 7 cm 250–500 g, depending on flake size Press-to-close zipper Use sufficient top clearance for sealing and select film with good resistance to cracking from rigid cereal pieces.
Liquid sauces and condiments Spouted stand-up pouch 16 × 23 cm + 5 cm 250–500 ml Screw cap or fitment closure Confirm liquid compatibility, leak resistance, cap torque, and whether hot filling or retort processing is required.
Baby food and fruit purée Spouted pouch with rounded corners 12 × 18 cm + 4 cm 90–200 g or ml Tamper-evident cap or sealed fitment Packaging must meet applicable food-contact and processing requirements; validate seal integrity carefully.
Liquid detergent and refills Large spouted pouch with a stable bottom 20 × 28 cm + 7 cm 500 ml–1 L Large screw cap or dispensing fitment Use a chemically compatible film, strong seals, and a fitment designed for the product's viscosity.
Bath salts and granular personal-care products Standard or wide-bottom stand-up pouch 16 × 24 cm + 6 cm 300–700 g, depending on granule density Zipper with heat seal Consider moisture protection, seal cleanliness, and a gusset that keeps the pouch upright on the shelf.

Note: Capacity figures are approximate because filling weight varies with product density, particle size, shape, and filling method. Confirm the final dimensions with a physical filling and drop test.

Compare Closures, Features, and Barrier Properties

Choosing a stand-up bag starts with the product, not the pouch’s appearance. A dry snack may need moisture protection, while a liquid product needs stronger seals and leak resistance. Examine oxygen, water vapor, light, and aroma requirements. A high-barrier laminate can protect sensitive contents, but it may reduce recyclability or flexibility. Do not assume the thickest structure is automatically best. It can add cost and unnecessary material.

Closures should match how people use the package. A press-to-close zipper suits repeated opening, while a heat seal provides stronger initial protection. Spouts support controlled pouring, but their caps must resist cross-threading and accidental loosening. For freshness, check zipper alignment and seal width after filling. Small wrinkles near the seal can become serious leak paths. They are easy to miss.

Features also require practical testing. Check whether the bag stands on a wet counter, survives a short drop, and remains readable after handling. Ask for barrier data under relevant temperature and humidity conditions, not only headline values. Test filled samples through storage and transport simulations. Review seal strength, opening force, and closure performance with real users. One weakness may appear late. Careful selection should include measured results, supplier documentation, and a willingness to revise specifications when evidence challenges the first choice.

How to Choose the Right Stand Up Bags for Your Product?

Compare closures, practical features, and typical barrier performance.

Relative design scores range from 1 to 5, where 5 indicates stronger performance. Heat-seal-only bags generally provide the best closure integrity, while press-to-close and slider zippers improve resealability. Spouted bags support convenient liquid dispensing but require careful fitment and seal design. Actual oxygen and moisture barrier performance depends primarily on the selected laminate, coating, thickness, seal quality, and filling conditions.

The scores are comparative packaging-design guidance rather than laboratory specifications; final selection should be verified through product-specific barrier and seal testing.

Evaluate Sustainability, Cost, and Supplier Quality

How to Choose the Right Stand Up Bags for Your Product?

Sustainability starts with the product’s real requirements, not a fashionable material claim. Review the bag’s layers, thickness, barrier performance, and end-of-life options. A thin bag may use fewer resources, but it can fail during transport and create more waste. Recyclable structures also need suitable collection and recycling systems in the target market. Compostable materials may require controlled industrial facilities. The label alone proves little.

Cost needs a wider view. Compare the unit price, filling speed, shipping volume, storage space, and expected product loss. I have seen cheaper bags perform poorly because weak seals caused leakage during handling. That small saving became a larger operational expense.

Ask for samples and run realistic tests. Fill them, stack them, drop them, and store them under expected conditions. Do not rely only on attractive samples.

Supplier quality is equally important. Request clear material specifications, batch records, seal-strength data, and applicable food-contact documentation when relevant. A dependable supplier should explain quality checks without vague promises. Production consistency matters more than one successful sample.

Visit the facility when possible, or arrange an independent audit. Ask how defects are handled and how changes are communicated. Some packaging decisions remain uncertain until larger trials begin. That is normal. Record the results, challenge your assumptions, and leave room for improvement.